
What to Pack for a Winter Trek in Uttarakhand—and Why a Lighter Backpack Helps
What to Pack for a Winter Trek in Uttarakhand—and Why a Lighter Backpack Helps
A winter trek in the Himalayas asks you to prepare for changing conditions. You might start walking in sunshine, meet cold wind on an exposed ridge and reach camp as the temperature drops. The goal is to stay warm and dry without carrying so much that every uphill step feels harder.
This guide is for winter routes such as Brahmatal, Kuari Pass and Ali Bedni Bugyal, Kedarkantha, Panwalikhantha, Gulabikantha. The exact conditions vary by date and route, so check your final packing list with your trek leader. Layering, waterproof protection, sun protection, food and water are all recommended for winter hiking, but not every item is necessary on every trek.
1. Pack Layers You Can Adjust
Instead of wearing one very heavy outfit, use layers. You can add one when you stop or take one off as you warm up while walking.
- Base layer: A thermal top and bottom made from synthetic fabric or wool. These sit next to your skin and help manage sweat. Avoid cotton as your main base layer because it absorbs moisture and dries slowly, which can leave you feeling cold. CDC
- Mid layer: A fleece or warm sweater that traps heat while remaining easy to remove.
- Insulated jacket: A warm jacket for breaks, windy sections and camp. You may not need to wear it while climbing, but keep it easy to reach.
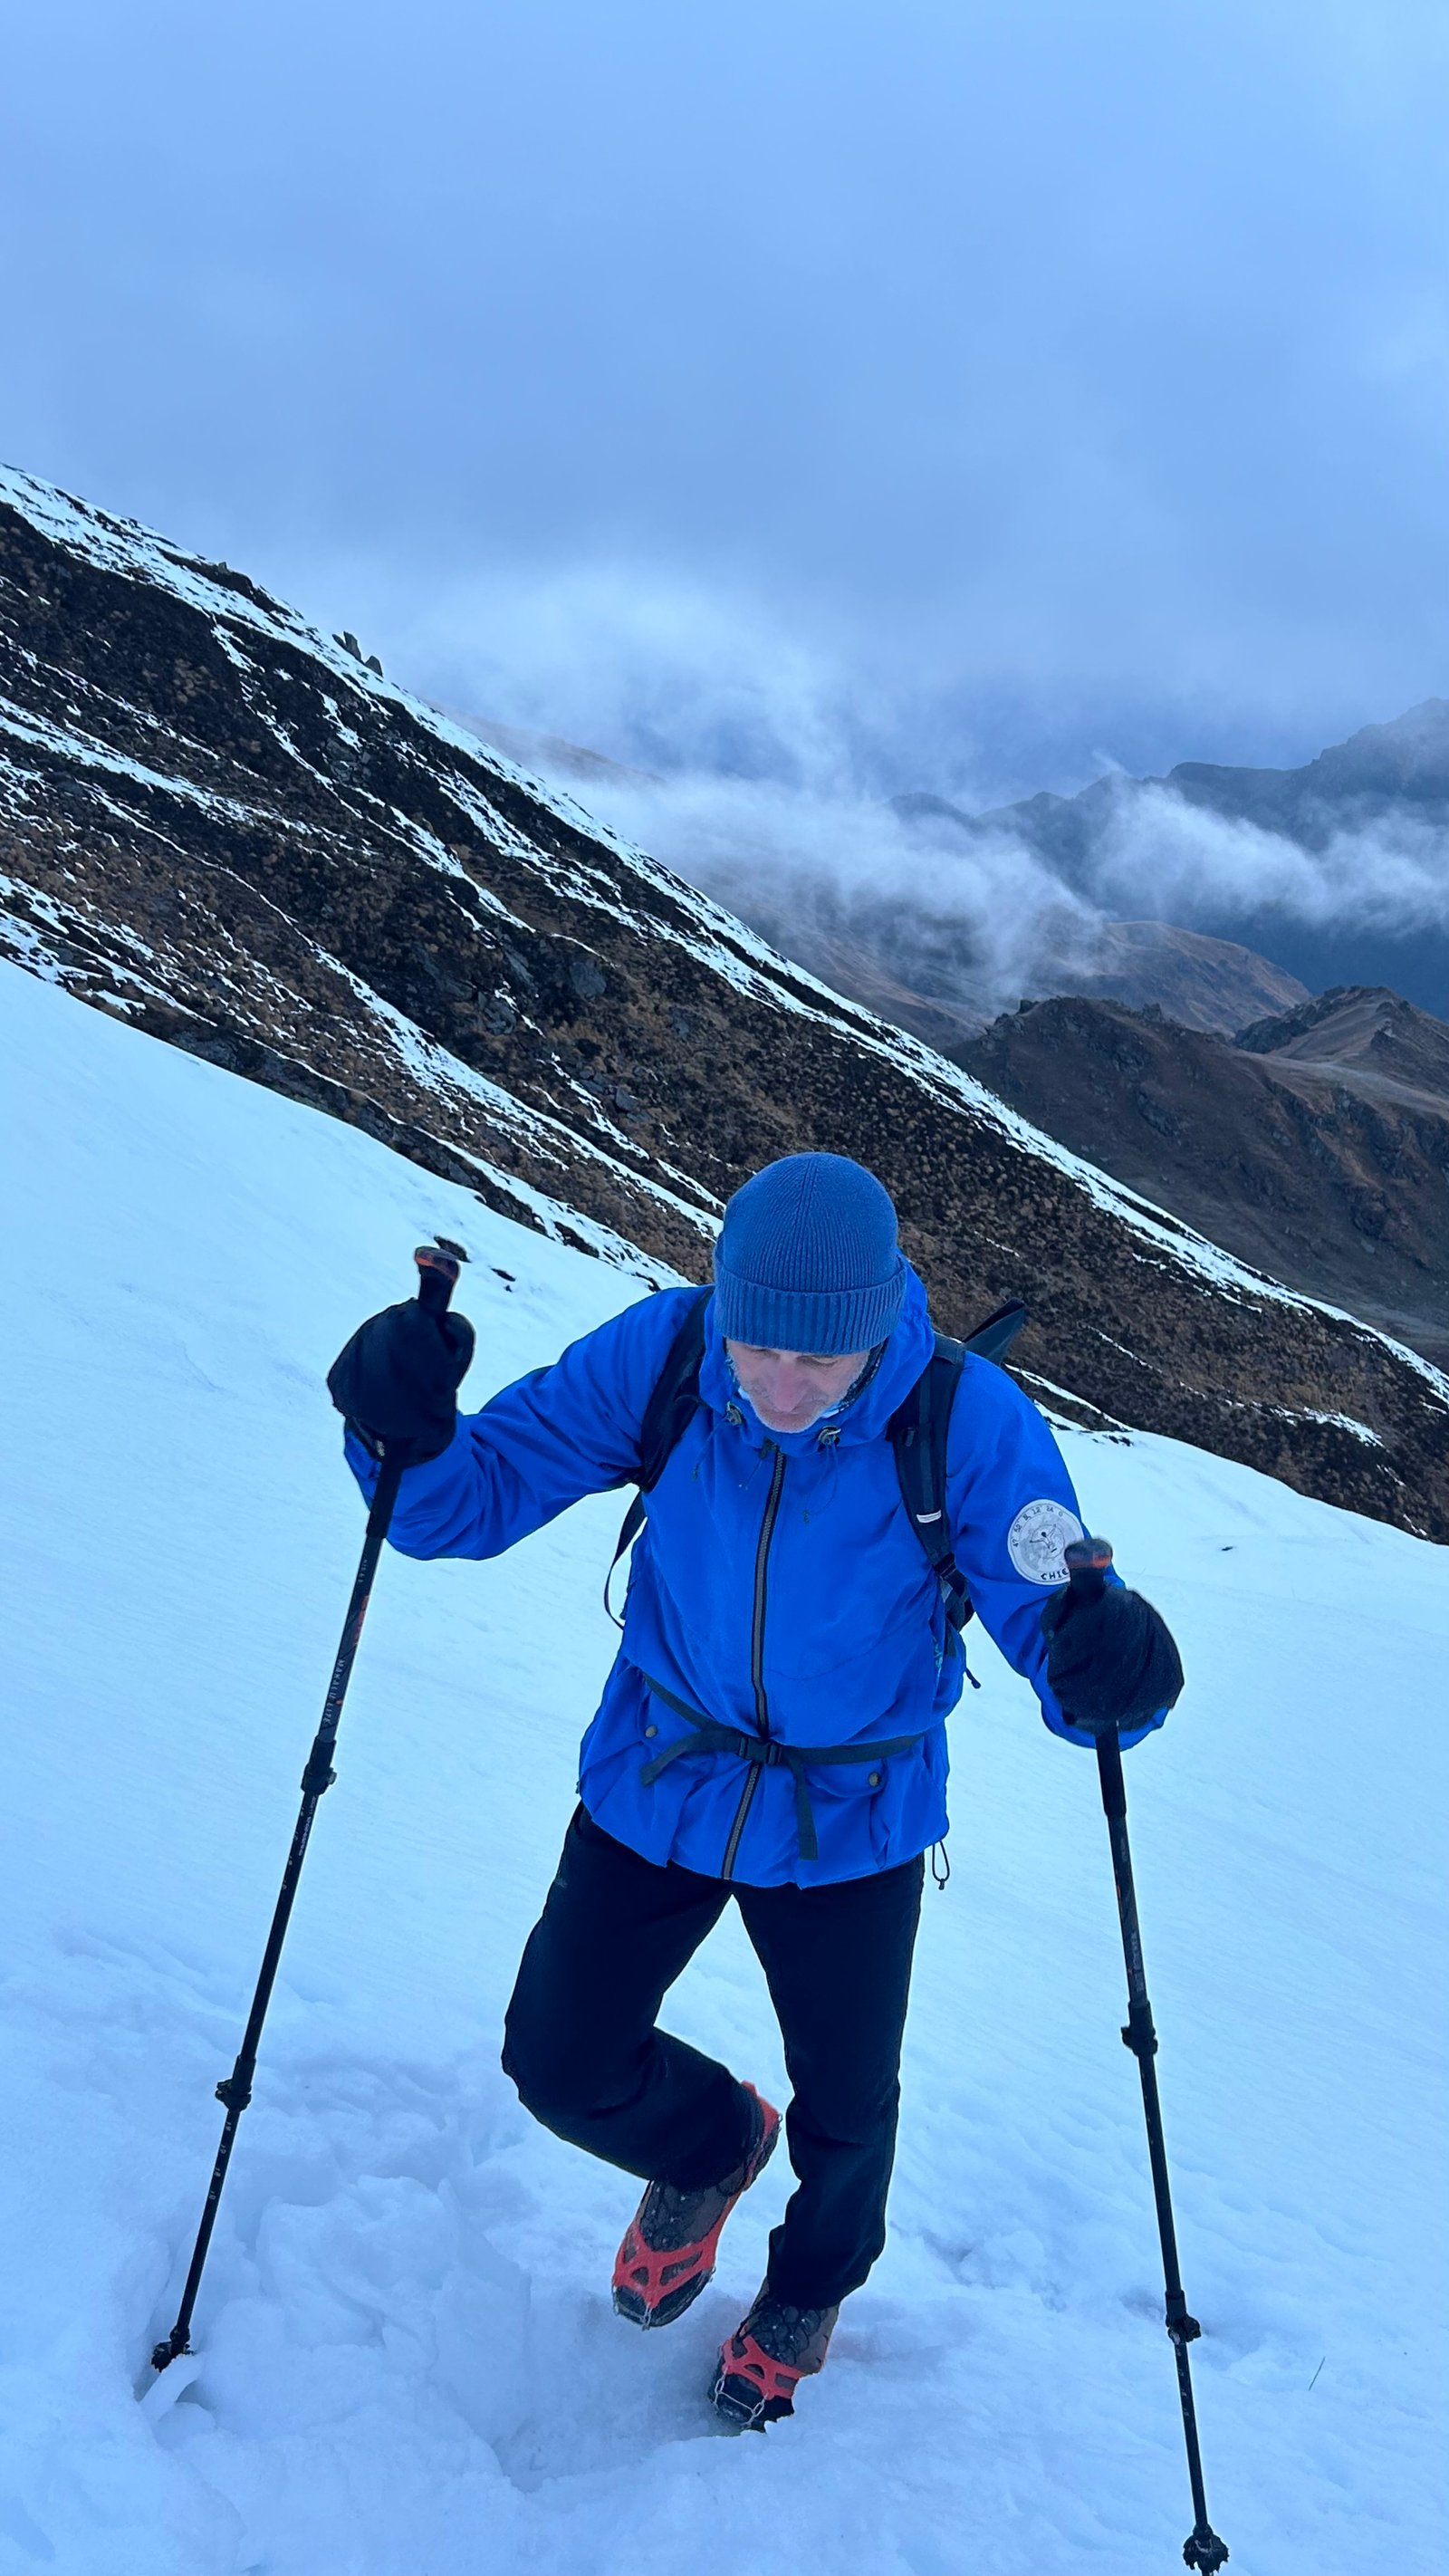
- Outer shell: A windproof and water-resistant or waterproof jacket. Mountain weather can change quickly, and a shell helps protect your inner layers from wind, rain or snow.
- Trekking trousers: Wear comfortable trousers that allow easy movement. Add thermal bottoms underneath when the weather or your comfort calls for them.
The useful trick is to adjust before you get sweaty or start shivering. Keep your warm jacket close at hand for breaks rather than burying it under everything else.
2. Protect Your Head, Hands and Feet
Cold fingers and damp socks can make a beautiful day on the trail uncomfortable. Pack:
- A warm beanie that covers your ears
- A buff or neck warmer to protect your neck and face from wind
- A light pair of inner gloves
- A warm outer pair of gloves or mittens
- Two or three pairs of trekking socks, preferably wool or synthetic
- A spare dry pair of socks kept in a waterproof bag
Use broken-in trekking boots with good grip and enough room for your toes to move comfortably. Tight boots can make your feet feel colder. Gaiters can help keep snow, mud and small debris out of your boots when trail conditions call for them.
For icy or snow-covered sections, your trek leader may recommend traction aids such as microspikes. Their usefulness depends on the actual trail conditions, so ask your operator before buying or packing them.
3. Bring Sun and Eye Protection
Winter sunlight can feel strong on open snow and meadows, even when the air is cold. Pack:
- Sunglasses with UV protection
- Sunscreen
- Lip balm
- A cap or sun hat for exposed sections
These items weigh little and are easy to forget. Keep sunscreen and lip balm somewhere you can reach during the day.
4. Keep Your Daily Essentials Accessible
Your daypack should hold the things you may need while walking, rather than every item you own. Depending on your trek’s arrangements, you may want:
- Water bottle or insulated flask
- Trail snacks
- Headlamp with charged batteries
- Phone and power bank
- Personal medicines
- Small personal first-aid and blister-care items
- Sunglasses, sunscreen and lip balm
- Rain cover or a waterproof liner for your pack
- ID and a small amount of cash
Keep electronics and spare batteries protected from cold and moisture. Store a spare layer and any important medication where you can reach them without unpacking the whole bag.
Your guide or trek team may carry shared equipment such as navigation and group first aid. Confirm what they provide before the trek so you don’t bring duplicates—or assume something is included when it isn’t.
5. Keep Night-Time Gear Dry
A warm sleeping setup matters, but check with your operator before carrying bulky bedding. For our treks, we provide tents, mattresses and sleeping bags rated to -20°C. You should confirm the exact equipment included for your chosen trek and dates.
Bring a clean, dry set of clothes to sleep in. Keep it sealed in a dry bag so it stays dry even if your backpack gets wet. A small torch or headlamp is useful around camp after dark.
6. Pack Snacks and Personal Toiletries Simply
Your trek team will organise meals according to the itinerary. You can still carry a few personal snacks for the trail, such as nuts, dried fruit or a small energy bar. Choose items you already know you enjoy and can eat easily while taking a break.
For toiletries, bring travel-sized essentials: toothbrush, toothpaste, a small towel, hand sanitiser and any personal care items you need. Keep waste in a small bag and carry it back with you.
Why Keep Your Backpack Lightweight?
A lighter backpack makes a real difference over a full day of walking. On steep climbs, uneven paths and snowy sections, every unnecessary item adds effort. A lighter pack can help you:
- Use less energy over long walking days
- Keep your balance on uneven or slippery ground
- Move more comfortably and keep pace with the group
- Avoid overheating and sweating from carrying excess weight
- Reach essentials easily instead of digging through a crowded bag
But “lightweight” does not mean leaving behind warm clothing, water, medicine or other essentials. It means choosing the right items, packing only what you need and checking what your trek team already provides. Prioritise safety and warmth; reduce duplicates and extras.
Before leaving, lay everything out and ask: Will I use this? Is it already provided? Can one item serve more than one purpose? A few minutes of checking at home can save a lot of effort on the trail.
A Simple Pre-Trek Packing Check
A few days before departure, confirm your final checklist with your trek operator. Ask about the expected weather, snow and trail conditions, what equipment is provided, and how much luggage you should carry yourself. Conditions can change, so use this article as a planning guide—not a substitute for your trek leader’s latest instructions.
The best winter pack is not the biggest one. It’s the one that keeps you warm, dry and prepared while carrying only what the journey requires.
Anamika
Mountain Content Specialist & High-Altitude Trek Leader at Mountain Guide.